|
6/29/2005
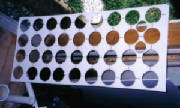
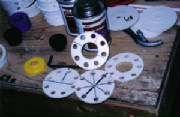
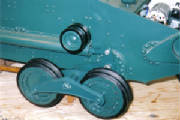
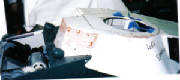
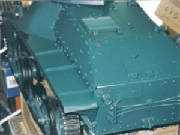
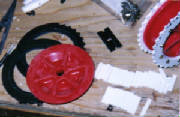
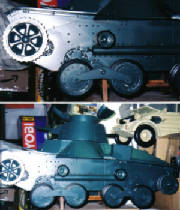
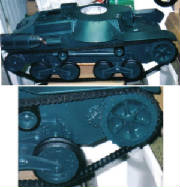
The first photo is just to show how much plastic it takes to make all the wheels and idlers.Next ones show idler and
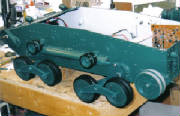
wheel construction.Last pics show the completed lower hull with the idlers installed.Since I took these I've completed the
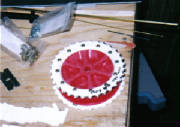
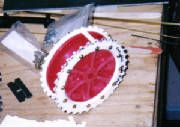
first of 8 roadwheels needed.I think I figured out a good way to make solid tired wheels that would work for other things
as well.I made the wheel centers from styrene and used PVC pipe as the outer "rim".I epoxied 3/8 vee-belt (fan belt) section
to rim as tire section.Will try to add pic of this soon.I think it worked and looks great.Vee-belts are available in a huge
variety of widths and thicknesses.This may be a small solution to the chronic running gear problem.
9/22/2005
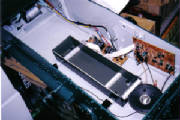
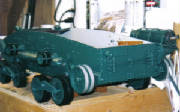
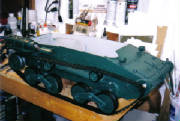
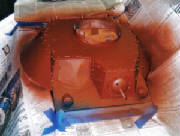
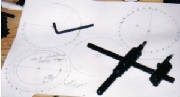
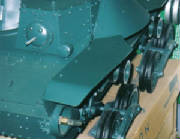
This set is pretty self explanatory.First one is closeup of suspension bellcrank and bogie.Second and third are shots
of one side of suspension.Last shot is mockup (wishful thinking at the moment) with tracks.Working on drive sprockets now.
1/17/2006
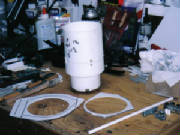
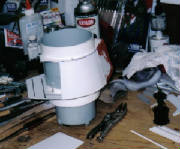
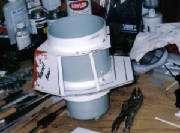
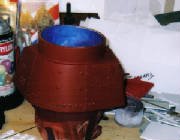
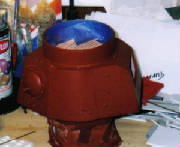
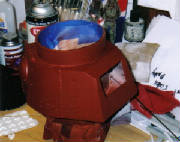
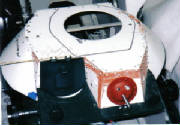
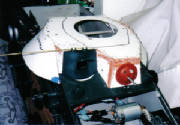
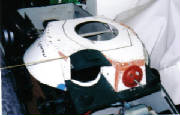
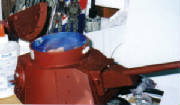
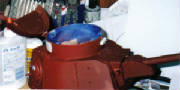
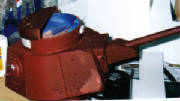
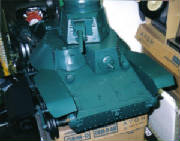
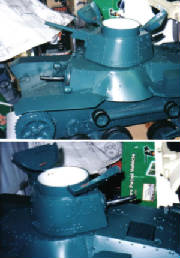
These show the turret construction and the beginning of the top of the hull. As usual with my slowness in taking
and posting pics,I am well ahead of these pics. I feel like it's really started to come together.I'm pretty sure I'll
have it done for WOH 2006. Barring any major disasters of course.
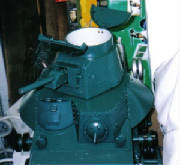
2/18/2006
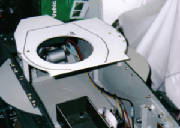
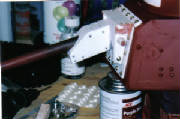
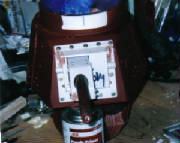
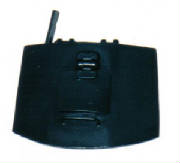
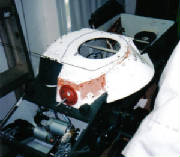
Here's the latest on the Type 95.These show the driver's hatch off the hull, installed( open and closed ) and vision
port open and closed.Upper hull completed and in primer.Rear deck roughed out.Turret hatches about halfway done in pics.They
are finished just don't have latest pics developed yet.Turret is now complete except for MG barrel shroud (almost done).Starting
to come together,next set of pics is much better, should have them up in a week or so.
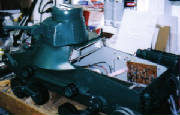
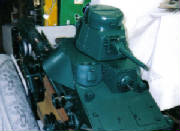
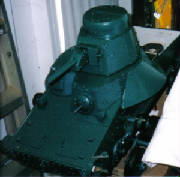
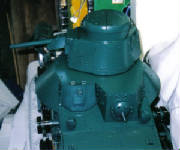
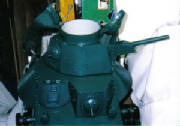
3/19/2006
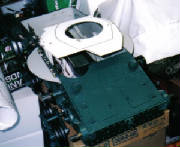
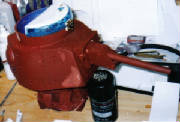
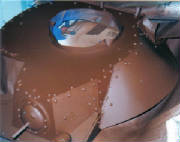
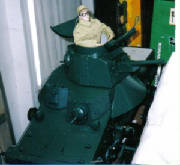
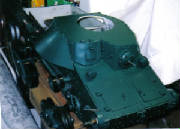
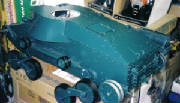
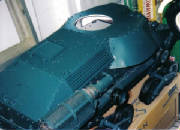
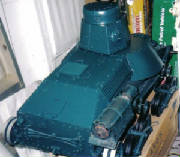
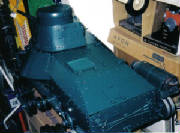
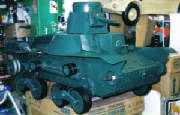
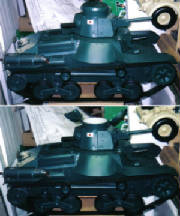
These show the upper hull painted in the base coat of forest green.It's a good match color wise,too glossy as is.I sprayed
the bottom with dullcote and it looks much better.Not going to dullcote the top until finished with camo paint.Installed the
turret to see how it looks.Put my driver in to show size.Driver is ITPT 10.5 in. figure.Tank is to scale but is
small.
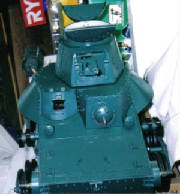
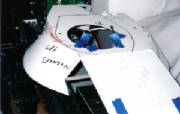
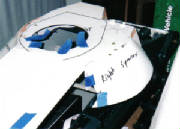
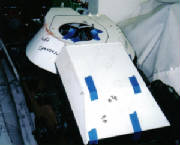
4/15/2006
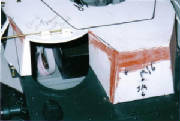
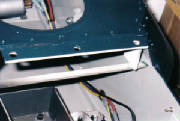
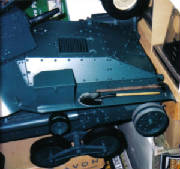
Latest photos show rear deck installed.Is removable to access battery and R/C components.Third pic shows mounting holes
in rib behind turret platform.Next pic shows pins on bottom of deck assy.Couple of pics with turret.Final pics show rear fender
completed and installed.


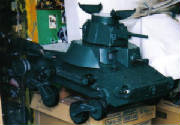
5/21/2006
6/5/2006
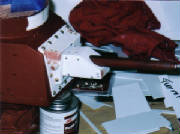
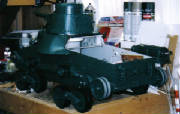
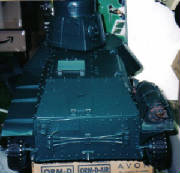
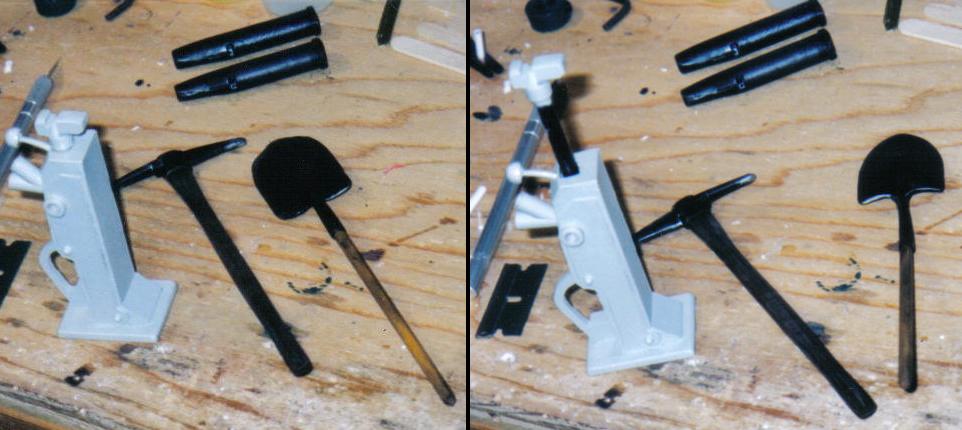
The first 2 pics show the tools and MG barrel shrouds on the work bench.Next 2 show the shrouds installed.Fifth shot
is pick and shovel mocked up on rear fender where they will be mounted.Next 2 shots show the drive sprockets installed.Then
the tracks (finally!).Last 2 show the tank very close to complete,the unfinished parts are not visible.
|