|
All pictures below are thumbnails, click on them for larger images and use the "Back"
button to return to this page.
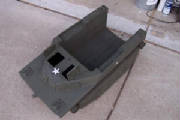
7/28/04
Today I painted it Krylon OD but first put on a coat of their fixitive. Between coats of OD was another coat of
fixitve. I also cut out the hatches and made some hinges out of pvc and installed the pull handles. Since this is a
sort of fantasy LVT in the first place I took some liberties. Everything I did was based off pictures I saw online and
then went outside to work using only my memory. Just one pic as a teaser right now:
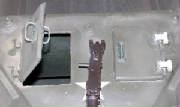
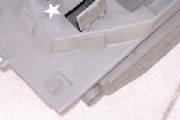
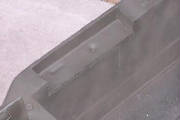
8/2/04
I'm rebuilding the floor to be more accurate without all those bumps and adding a frame to give it all support.
Cut off and added sections to give the rear a more correct shape. Will be sealing off and adding a new/modified rear hatch.
Hopefully waterproof but we'll see. Added little pieces of sprue to make guides for the tracks. They no longer fall
off so easily.
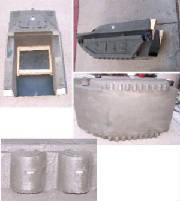
When I'm finished I'll make up some "How To's" with measurements/directions and all that.
9/15/04
Had some time today so I started the process of sealing the back up. No ramp made as of yet but I'm geting
there. The wood frame was screwed to the bottom from the under/outside. Plexiglass reinforcement screwed to the
top of the wood frame. PVC glued over that. more PVC on the ends of the sidewalls. Basically all the black
is PVC. Some more filling here and there and the ramp and then it will be off to the neighbors pool...
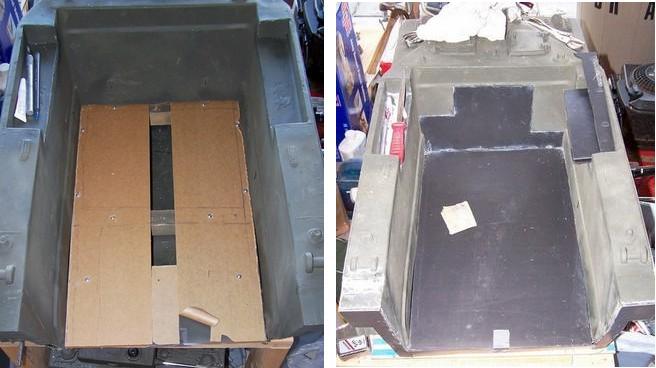
The floor strengthener of plexiglass on the left. The new floor of PVC on the right.
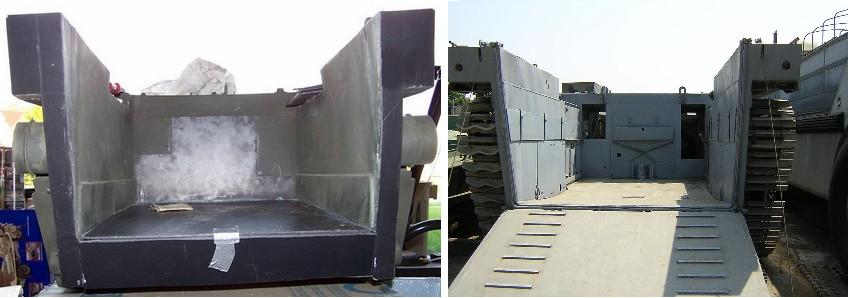
|
| Note - Picture of an LVT from August 2004 visit to Tank Museum on the right |
The new rear end without the ramp.
Kanowarrior's note: I was so impressed with this work that I included a picture I took of an LVT
on a local museum's display lot.
9/16/04
The new rear ramp showing my internal supports for strength.
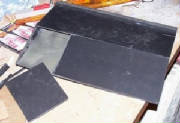
The ramp is temporarily placed to check the fit.
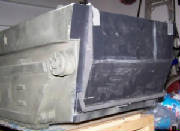
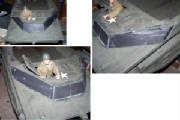
I got to work on this for about five hours today. The ramp was already done I just had to make the winches
and attach string. A piece of rubber cut from an inner tube makes the "seal." Cut those (what i'll call)
windows off the front. New pvc sheeting, to cover the holes, goes all the way across. The one side was brought
forward to make it even with the other. will be making some vision ports soon. Also added plexiglass semispheres to
the light covers to simulate headlamps. I'll let the pics show it all for themselves.
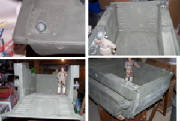

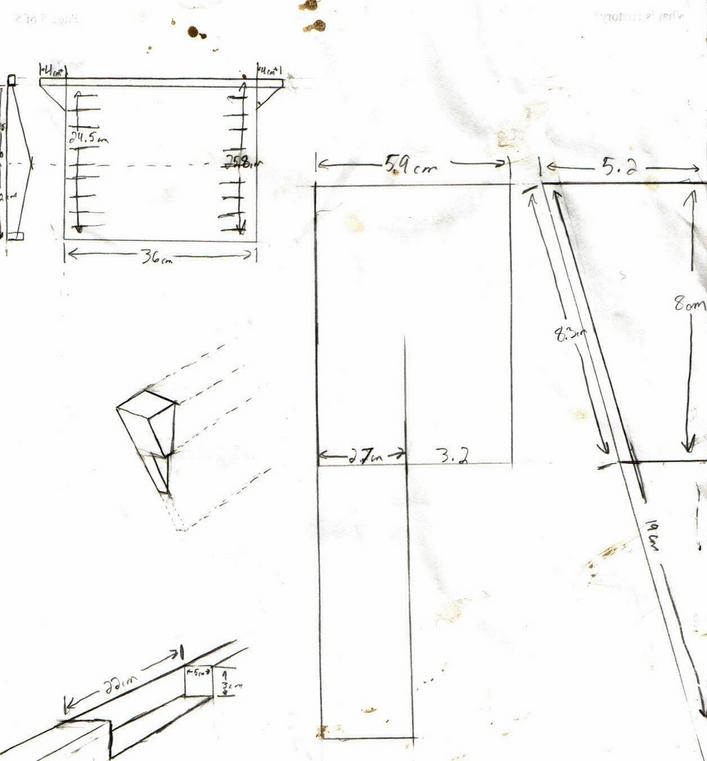
All measurements are in centimeters as shown. On the side view of the ramp those say 12 and 12.5cm (I think). I forgot
to write that it's 3cm thick but you can go thicker. The angled portions (mine are made of wood) are the same just opposite
in symmetry. I attached them to find the line then cut down the hull to match the angle. Put a plastic backing over that and
covered the back i'd exposed. Sorry about the mud but that was a result of today's patrol...
| Landing Ramp Measurements |
|
Some Americans are out on patrol in France in their LVT when they come to a stream they must cross.
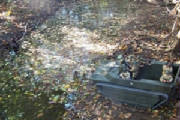
They make it to the other side.
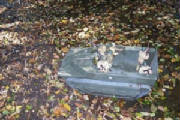
But an unseen enemy machine gun nest opens up on the soldiers. The vehicle drifts away with the current.
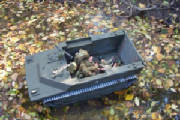
Okay, really they started to fall over so I gave up, pushed the rest down, and called them dead. Finally decided to take
the Desimone LVT I've been working on out to the stream behind my house. Still some sealing to do apparently as a little bit
of water leaked in. It wasn't from the hole I had duct tape over so there wasn't too much. That was all before I stood on
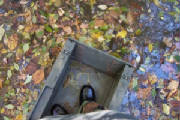
the thing. Got about 8in of draft while it touched bottom. Got about a pop (soda) can worth of water in from this. That water
was all inside the crew area. In my foot pic you can see the water that came in the back, not much at all.
|


