|
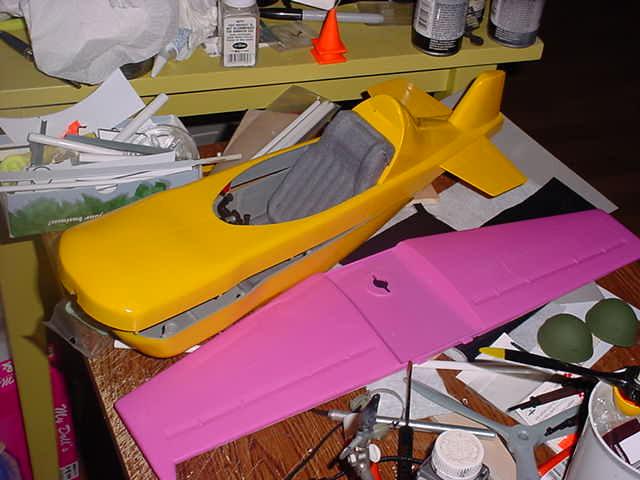
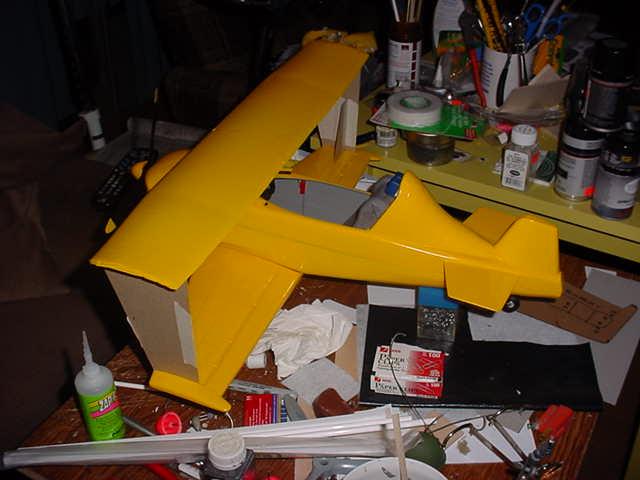
I have already almost finished the fuselage in this picture. The bottom
wing already has the bottom surfaces attached but you can't tell that here. So far I have repainted the
exterior and interior of the fuselage and upholstered the pilots seat.

In the pictures above I have upholstered the pilots seat and added some instruments
on the panel. On the right side of the panel that red thing is a fire extinquisher while on the left side of it is a
radio. I have also made a headset with microphone that plugs into the radio.
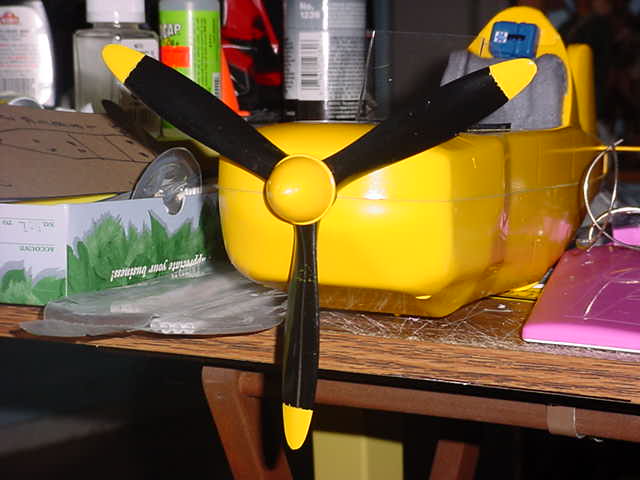
Next I replaced the propellor with one I found at the local Hobby shop. This
one is larger and three bladed. I repainted then added the nose cone. The cone is half of a fishing float.
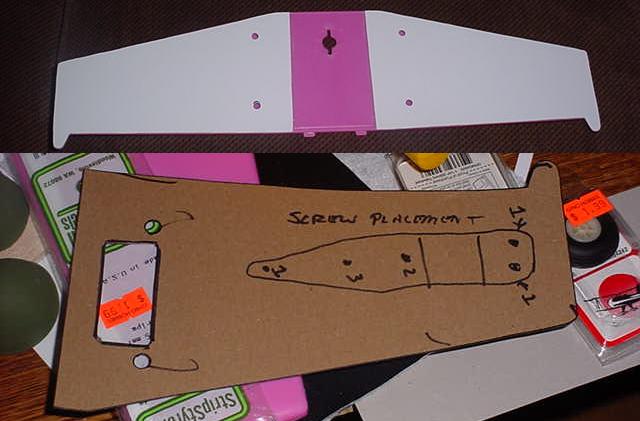
Here I have made a cardboard template
of the underside of the wing. The square cut out is where the original landing wheel support was, but for this plane
I decided not to use that at all. I also made a crude drawing of the placement of screws that held the fuselage together
so I could get them back in the proper place. The two holes I have punched in the template and wing are where the new
landing gear will be attached.
Next I use the cardboard template to cut out the underside of each side of the wing from flat sheet
styrene and glue that to the underside of each side.
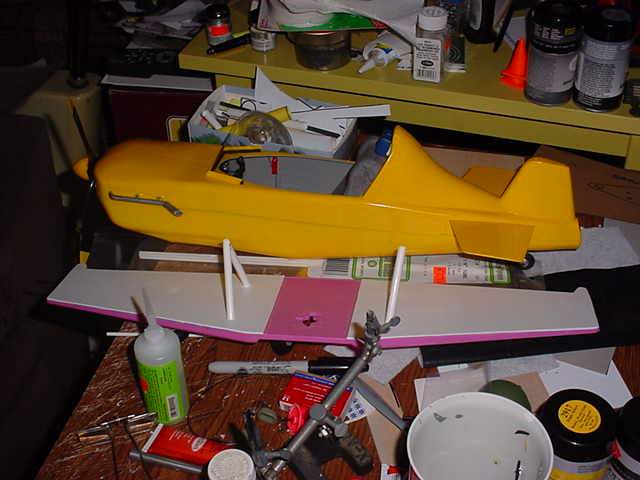
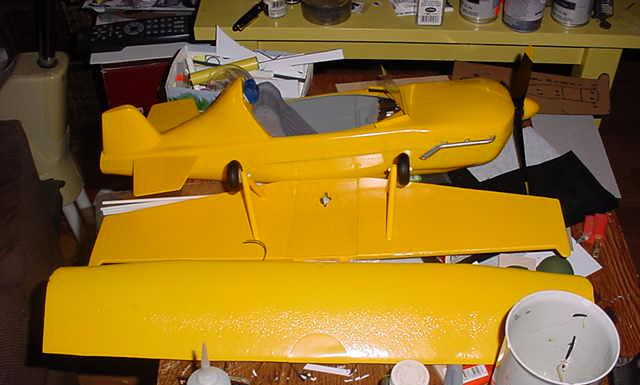
I have finished assembling the bottom wing and added the landing gear supports.
The fuselage is nearly finished and I have added exhaust pipes and a new windscreen. I discarded the original cockpit
canopy as it was to narrow to accept anything but the skinniest figures.
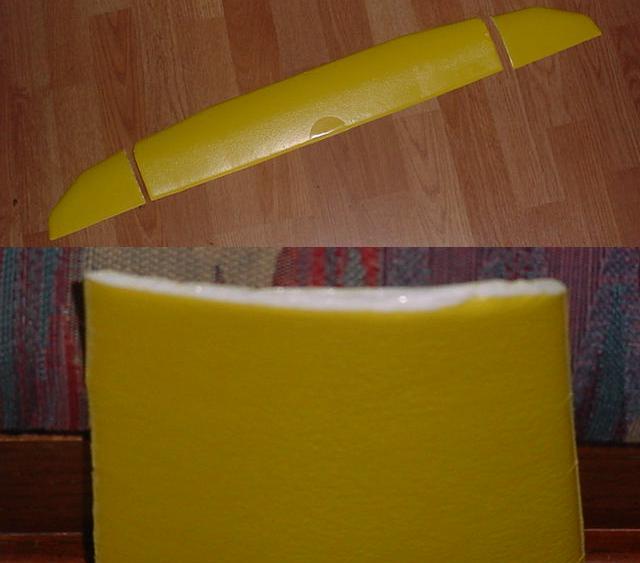
For the upper wing I found this premade glider wing at my local hobby shop.
At $10 bucks it cost me twice as much as the airplane did! I trimmed off the ends and discovered it was foam filled.
I tried to seal one end but forgot that foam will dissolve when it comes in contact with certain glues and paints. So
after half dissolving one end I filled it with white glue then sealed it with same. I sealed up the other end with more
white glue. Unfortunately my haste created a small blemish on one end of the wing.
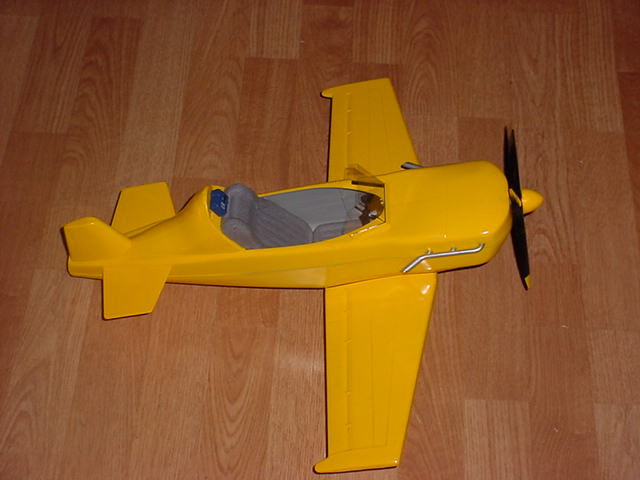
All three of the major assemblies are finished here. The blue pouch above
the pilots seat is a first aid kit. All I need to do to finish this now is add the supports and guidewires for the upper
wing.
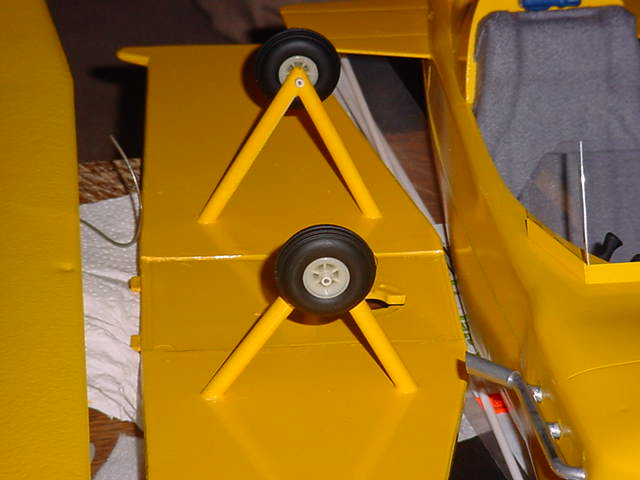
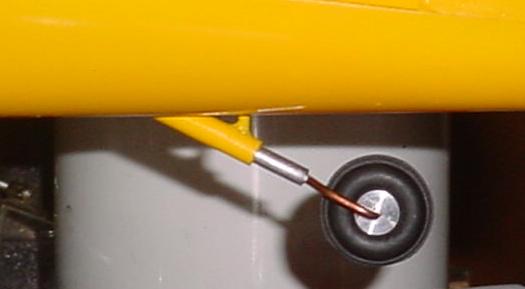
A close up of the finished landing gear.
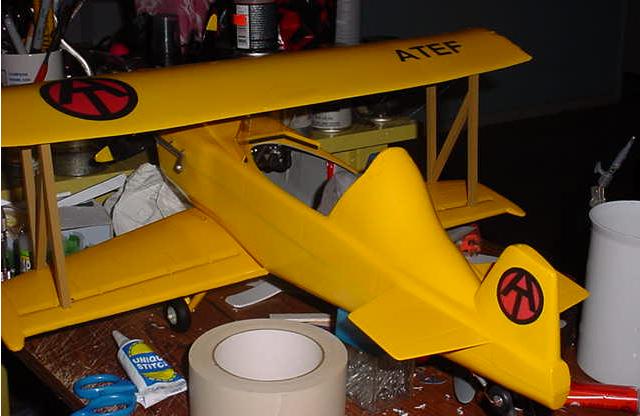
All I need to do now is add the upper wing and put AT markings on my biplane.
I might have a few more ideas for accessories.
I made templates for the wing struts from cardboard. Although the finished
struts don't look anything like this, the templates did give me an idea of size and how the wing will look when it is attached.
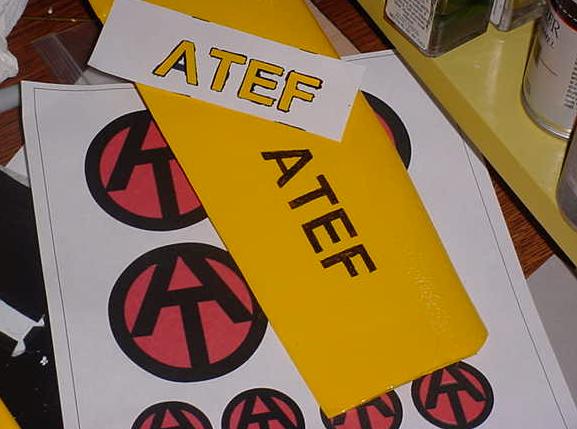
I've started the markings on my wings. Here I printed out the largest Arial
Font size with the ATEF lettering then carefully cut out the letters. This created my template and using a Sharpe Black
felt pen I just inked in the letters in the appropriate places. You can also see the AT markings I will be using once
I find out where I put my can of Fixative so can spray a sealer coat over the inkjet printed emblems.
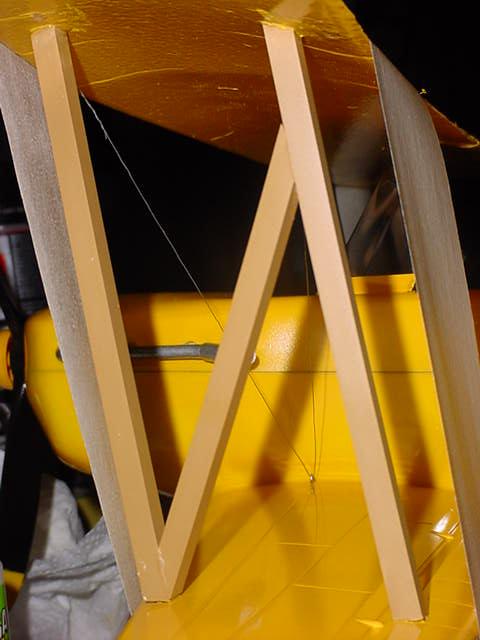
Struts are added and the upper wing is attached. I have started adding the
tensioning wires on the wing and still need to do the center struts at this point.
|


