|
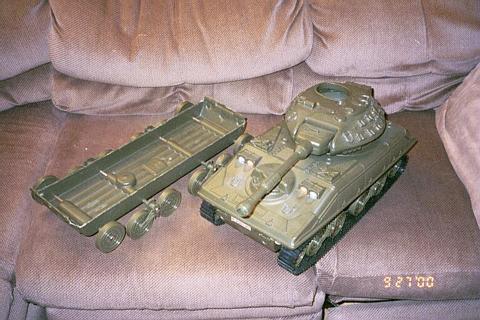
First I cut down a Sunny Smile tank. Here is a picture of the finished cut down tank next to another Sunny Smile tank.
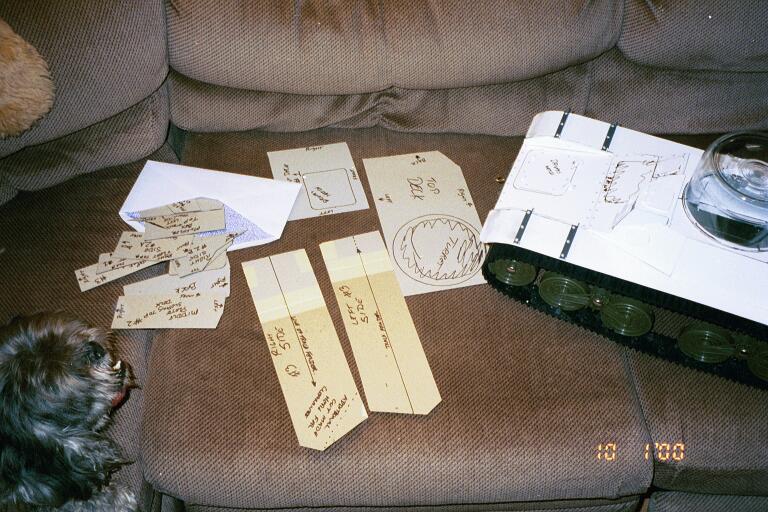
The cost and availability of large styrene plastic sheets makes every piece valuable. I make cardboard templates of each piece before I cut any styrene. Once I get a good fit, then I move on to styrene. The dog was not neccessary to the model but I highly recommend one. 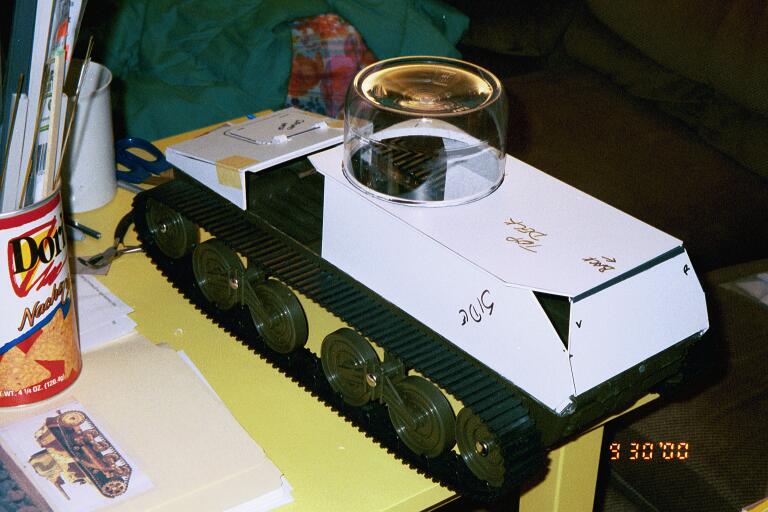
Here the basic shape is taking place. The turret is added using the bottom of a large family sized pickle jar. 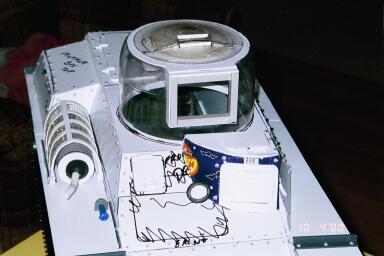
Details were added, muffler, screen, hatches, rivets glued on (I used 3mm doll eyes, 144 for about $1.49), headlight and turret top was cut out and inverted for the hatch. I bought a door knob wall protector for the bottom part of the hatch. You can see the frame of the gun opening here. 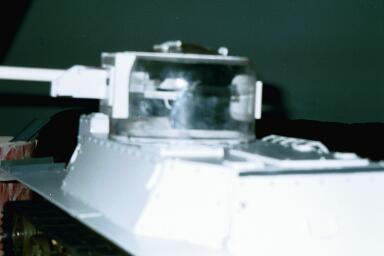
Not a great picture, but if you look carefully, you can see the cannon has been installed. I ran a pin thru the sides so the gun does elevate. I also added a breech and other details to the gun. 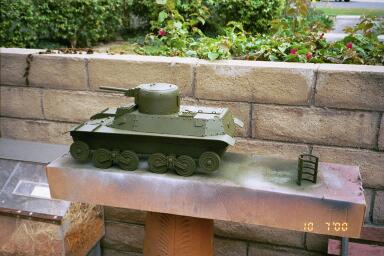
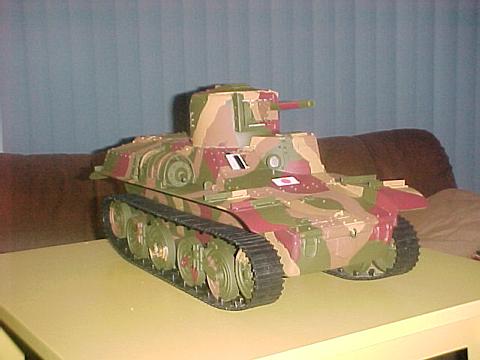
Here is my Te-Ke after construction. I have already put the base coat of green on it and all is left is to apply the camo scheme and markings. Note the muffler screen is off to the right. I made it removable for painting.
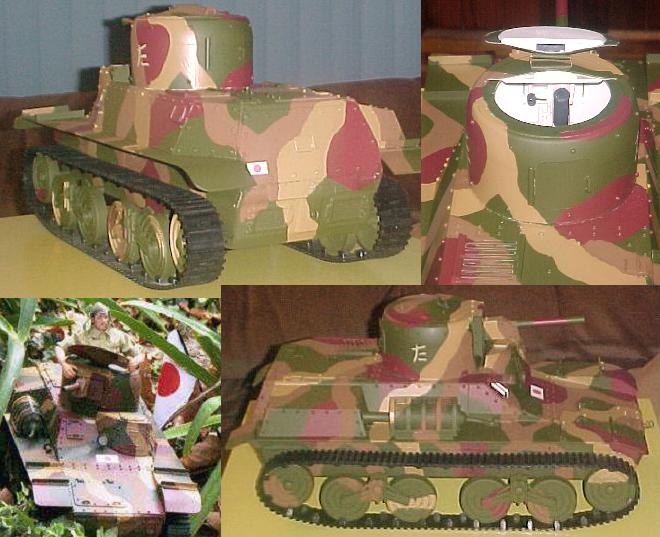
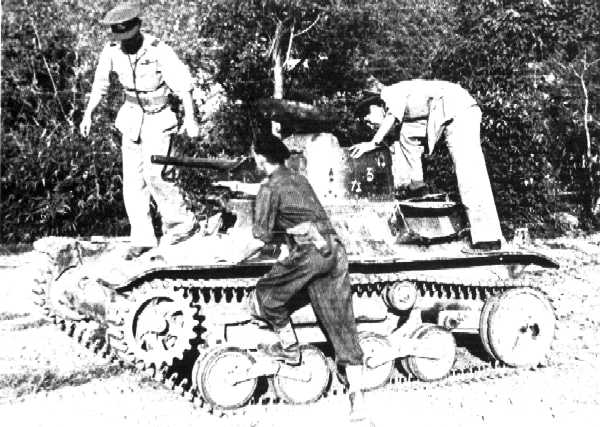
That's it. Start to finish took ten days. I could have done more interior detail, but stopped at making the turret interior and some hatch interior details. This was a fun project and I have a Te-Ke tankette that is about 1/7th scale, just under the right size for a true 1/6th vehicle. Finished pics of my tankette. It may seem way to small, but look at the wartime photo of the same tank below. This tank was so small it only had a two man crew. |