|
Heinrichss
Hetzer
It's
been a while since I have done anything with my Hetzer. So I decided to take advantage of the nice day and the night off from
work and work on it.
I worked on it for 4 hours and this is all I got. It may not be much but it is a milestone none
the less. I was afraid to mess with the mantel in fear of screwing it up. Once I got it cut off about 4 weeks ago, I thought,
what have I done? Now I'm starting to believe I can do this and confidence is starting to appear.
It still needs some
sanding but other than that it's ready to paint.
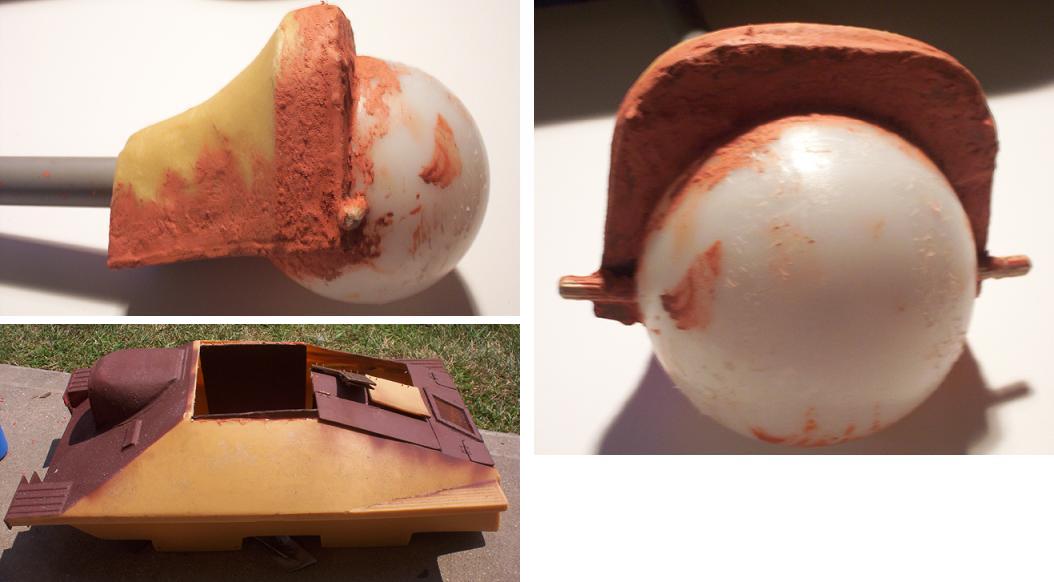
I
was trying like hell not to cut the top off, but when I found that the mantel will be harder to put back on with it still
there (the top) I broke down and cut it off. I figured, while I had it off, that I would fabricate a new top for it (since
the plastic one is warped) and add a full interior (minus the engine of course). These are the beginnings of that step.
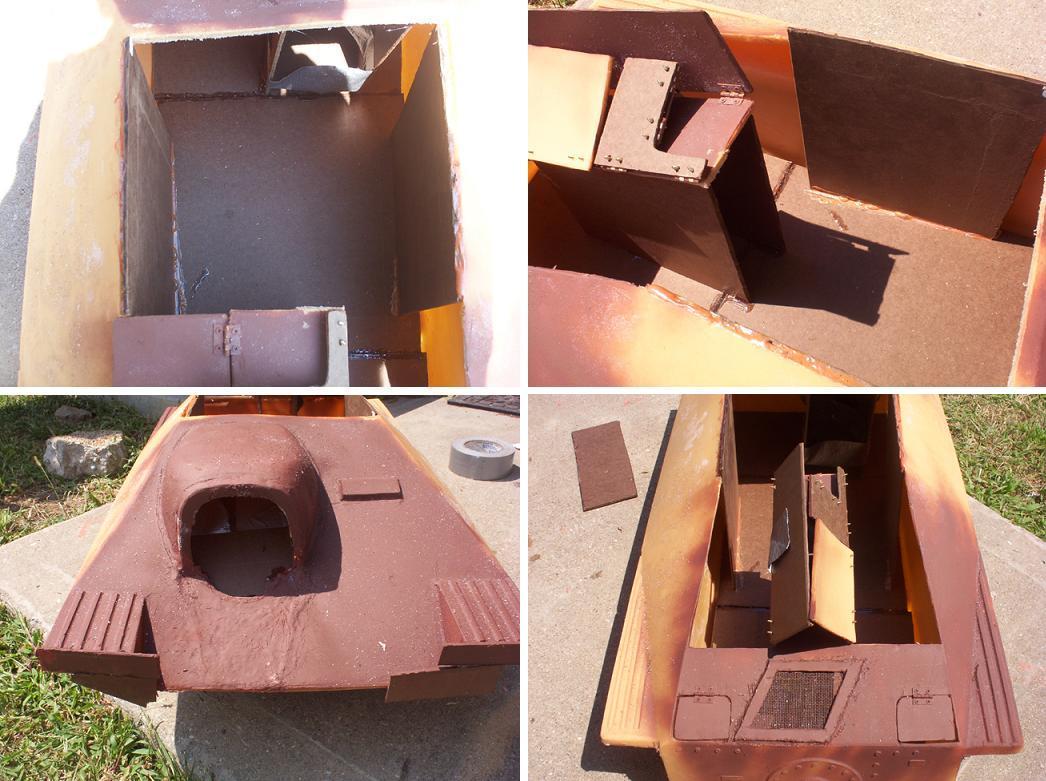
I
got the inside walls of the engine hatches done but still need to make the outside walls. I have the outside wall of the main
compartment done.
I also layed down a new floor to have a level base to measure from.
The primer is just preliminary,
as I wanted to see how much I have to smooth out on some key areas (mantel base and engine vent screen).
There's still
a lot of work to be done but I am getting closer and I can almost taste it.
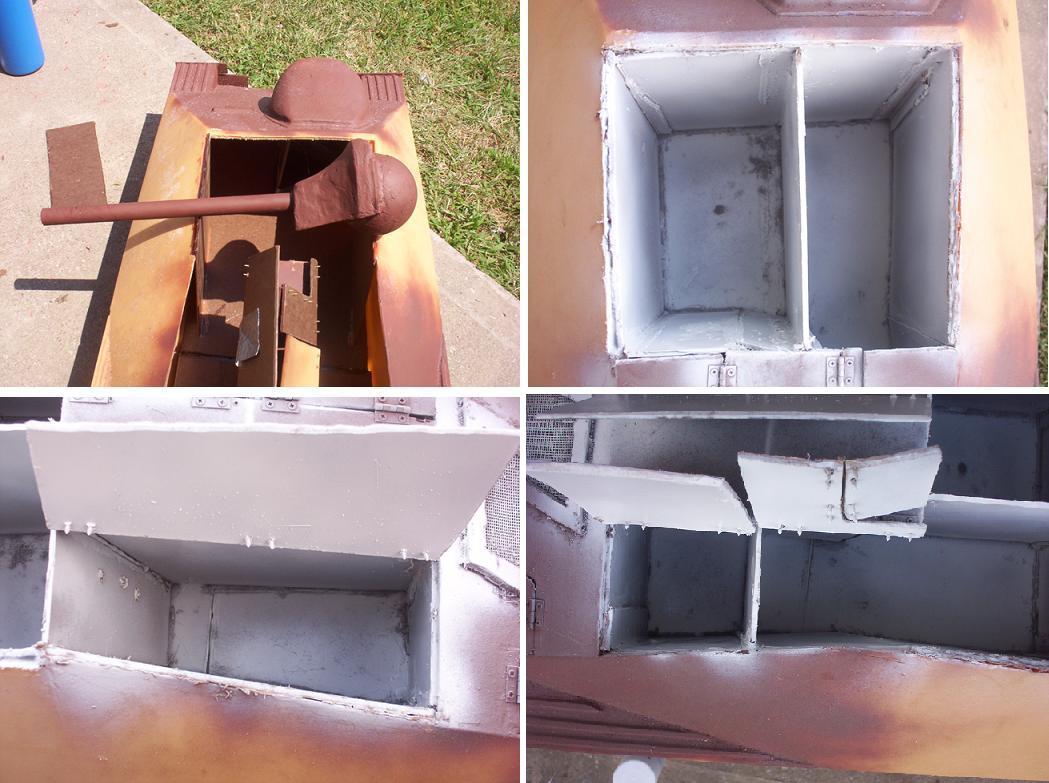
I
know they aren't pretty, but I finally got the interior walls up and painted. Most of the crappy looking glue will be hidden
once the top is reattached. Eventually I will be painting the whole thing and was wondering what kind of spray paint is best.
I noticed that the primer I used made tiny pits in the hull (I guess due to the thinner base). Anyways, here they are.
I
got my hinges at Lowes. I found them in the same isle as the nails and fasteners. I think they were $2.50 for 4 hinges.
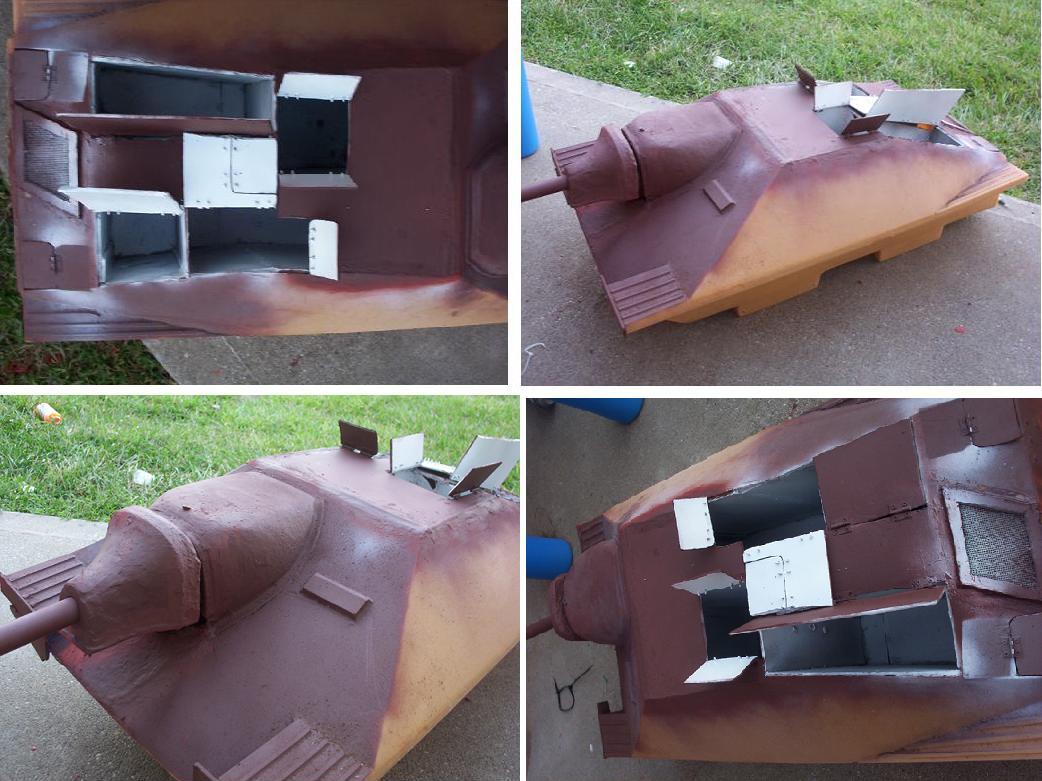
Here
are the mods I finished today (nowhere near finished is more like it). I got the new roof that I made put back on and the
mantel is reattached. The gun is stationary but I guess that's no big deal right now. I played around all summer in stead
of working on it and now I just want to get the main things finished before the winter comes. I'm not taking anymore shortcuts
from here on out. There are still a few little gaps to fill and some edges to trim up.
|


