|
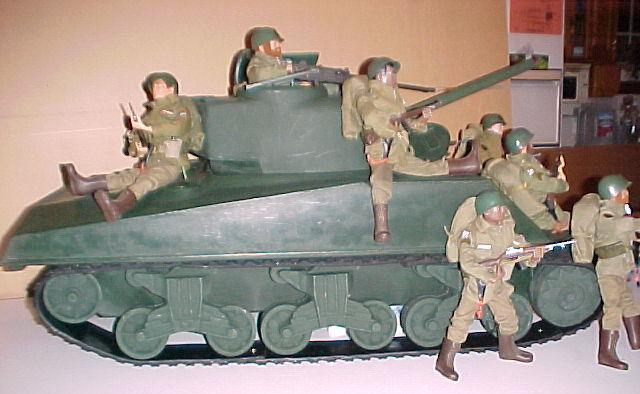
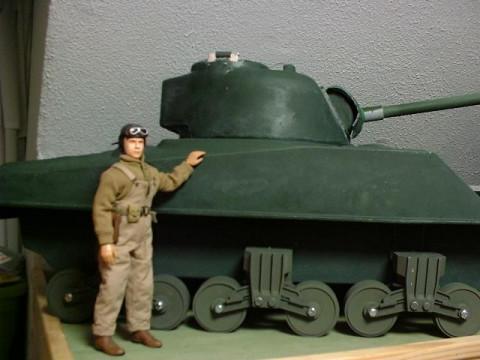
Available from James DeSimone. This is the M4A3 Sherman. Other than a jeep, this is my 'dream' 1/6 scale
vehicle. I will be hosting pictures of upgrades and tips that can be used to upgrade this bad boy on this webpage.
If you get one of these and want me to post pictures of your vehicle please email me.
James has sold his molds for the Sherman and it is no longer available thru him. However, they will be available
thru another customizer in the future after undergoing some upgrades.
Reference Materials
| Sherman Front Sprocket Wheel |
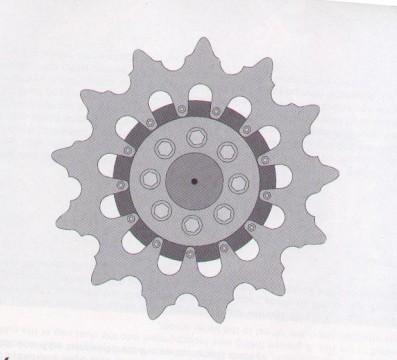
|
| Scanned Drawing - thanks to Dubar |
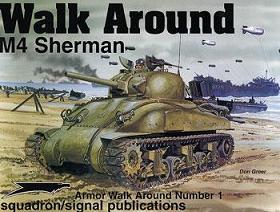
M4 Sherman Walk Around
Armor Walk Around Number 1
ISBN 0-89747-410-4 Squadron Signal Publications
Click on this link to find out how to apply tank markings!
Click here to see price list for Armour Guy's custom parts upgrades!
I've been experimenting with this type of hull material and have had some success. For those who want to cut things off
be fore warned that this stuff is very unforgiving for mistakes. It frays. The very best way is to use a hot knife (A soldering
iron witha razor blade attached). Then the raised areas are best delt with by using a sharp razor blade to trim off the raised
areas.
For large holes like cutting off fenders I recommend backing the hole with ABS or styrene. I first glue
a piece to the hull with Devcon Plastic welder adhesive then go over it with a two part epoxy used for pipes and such (I suspect
that a product like JB Weld works also) But first rough the inside of the hull up with 60-80 grit sandpaper to give it something
to bite into.
I then use only Rage Pro Gold bodyfiller by Evercoat for filling. This stuff is very aggressive bonding.
Yes if you throw it off of the roof the filler may crack but consider the material it's bonding to. This stuff will stick
to a chrome plated socket and yes I've done it and it's still on the socket after two years (It's a shame craftsman doesn't
warranty things like this). Sand it down with the usual grits you use but be careful of hitting the hull too much or you will
have the fuzzies to deal with.
For large items mounted to the hull I recommend using a metal pin and drilling a hole in
the hull and using the twopart epoxy from below. Things like reserve gas cans,large gun mounts,jery can racks,etc etc. Even
the plastic welder over time will weaken and this is a nonporous material so very little seeps into pores. Plus we all will
be transporting these things for photos and just general fun.
What type of paint seems to be the big question. Well guess
what, Good old Krylon primer sticks like glue to this hull. More aggressive than I first thought. Use light coats and place
the can on hot water (The hottest tap water you have) for 10 minutes before painting. This helps it dry quicker in colder
climates and helps the paint atomize better while spraying.
For the finish coat you can pretty much use whatever you want.
Tamiya paints work just fine on this primer as well as testors or anything you can find at Lowes or Home Depot with out reacting.
|