|
4/26/2006
I've got more to do and stuff to add. I plan to change out the running gear this summer. Thanks to
Jepy for the detailing tips [and warnings] and, Kanowarrior and his JD Hetzer page for the incentive.
NOTE from Jepy:
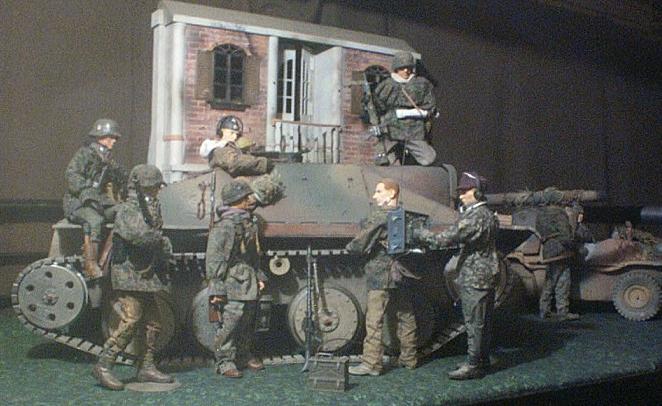
He performed this amazing transformation from bare yellow hull to finished model in about 2 weeks.

A few tips that were passed on to me and how they worked...
CUTTING:
The key to customizing
the JD Hetzer is a Drummel tool, hand held tools for cutting, scoring and sanding are all but useless,and sometimes dangerous,
this is a tough material.
ATTACHMENTS:
Most of the details of this tank are added on, so you can make them or
buy them and add them on. (roof MG, pariscope, muffler, etc...) Glues don't stick on this plastic for major parts. [I did
use hot glue on the primer coat to hold the armor plates on , it's OK, solid, I just don't pick at it. works good for welds
also...] Plan on using very small screws for hinges if your opening a hatch. The roof MG was put on with one screw up from
the inside. (thru the hatch or cut an access hole in the bottom) Hand holds; coat hanger clipped and bent to form, drill two
"smaller" holes to match and tap'em in
PAINT:
"Paint doesn't stick to this material!"
When I picked up this
tank secondhand it had four different paint tests already on the bottom, all with fingernail scratches, three out of the four
were on solid! some paints stick, It just takes a long time to cure, I guess.. I used Krylon fusion as a primer and it stuck
great. after a week or two...
There is a ton if info and photos on the web, take yer pick an have fun, it CAN be done...
|